.svg?w=384)
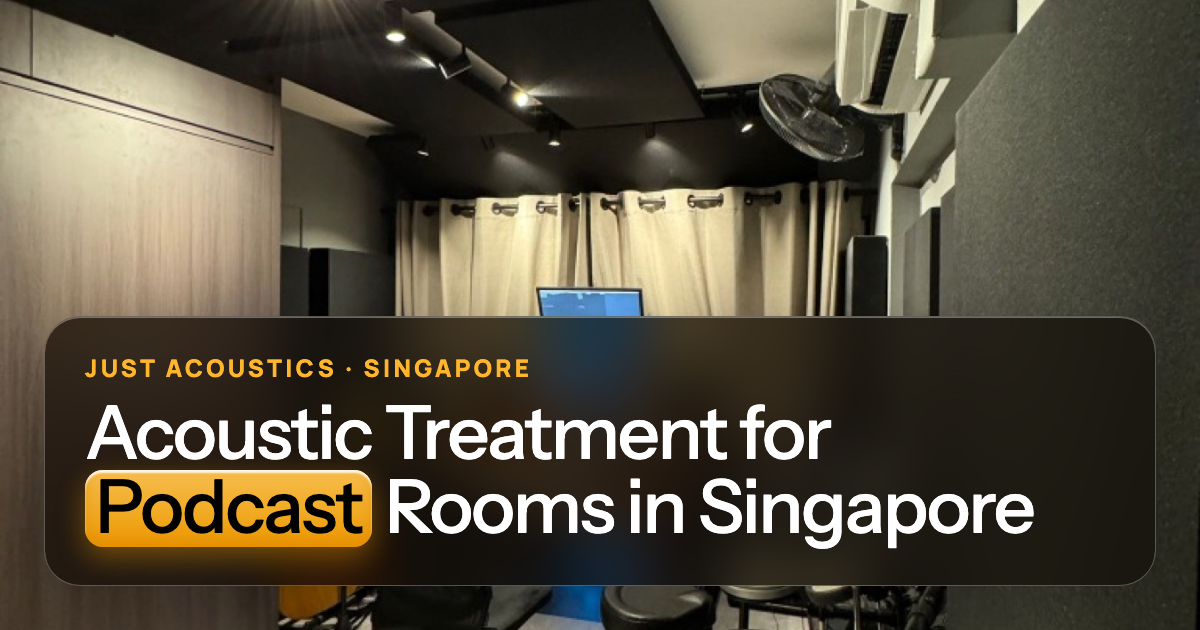
Quick answer: A podcast room needs less room sound reaching the microphones: put acoustic panels behind and beside each host, on the wall they face, and a cloud above the table. Small rooms need fairly high coverage (often 10–16 panels) because voices are close to walls. Use dynamic microphones close to mouths, and treat outside noise separately.
Key takeaways
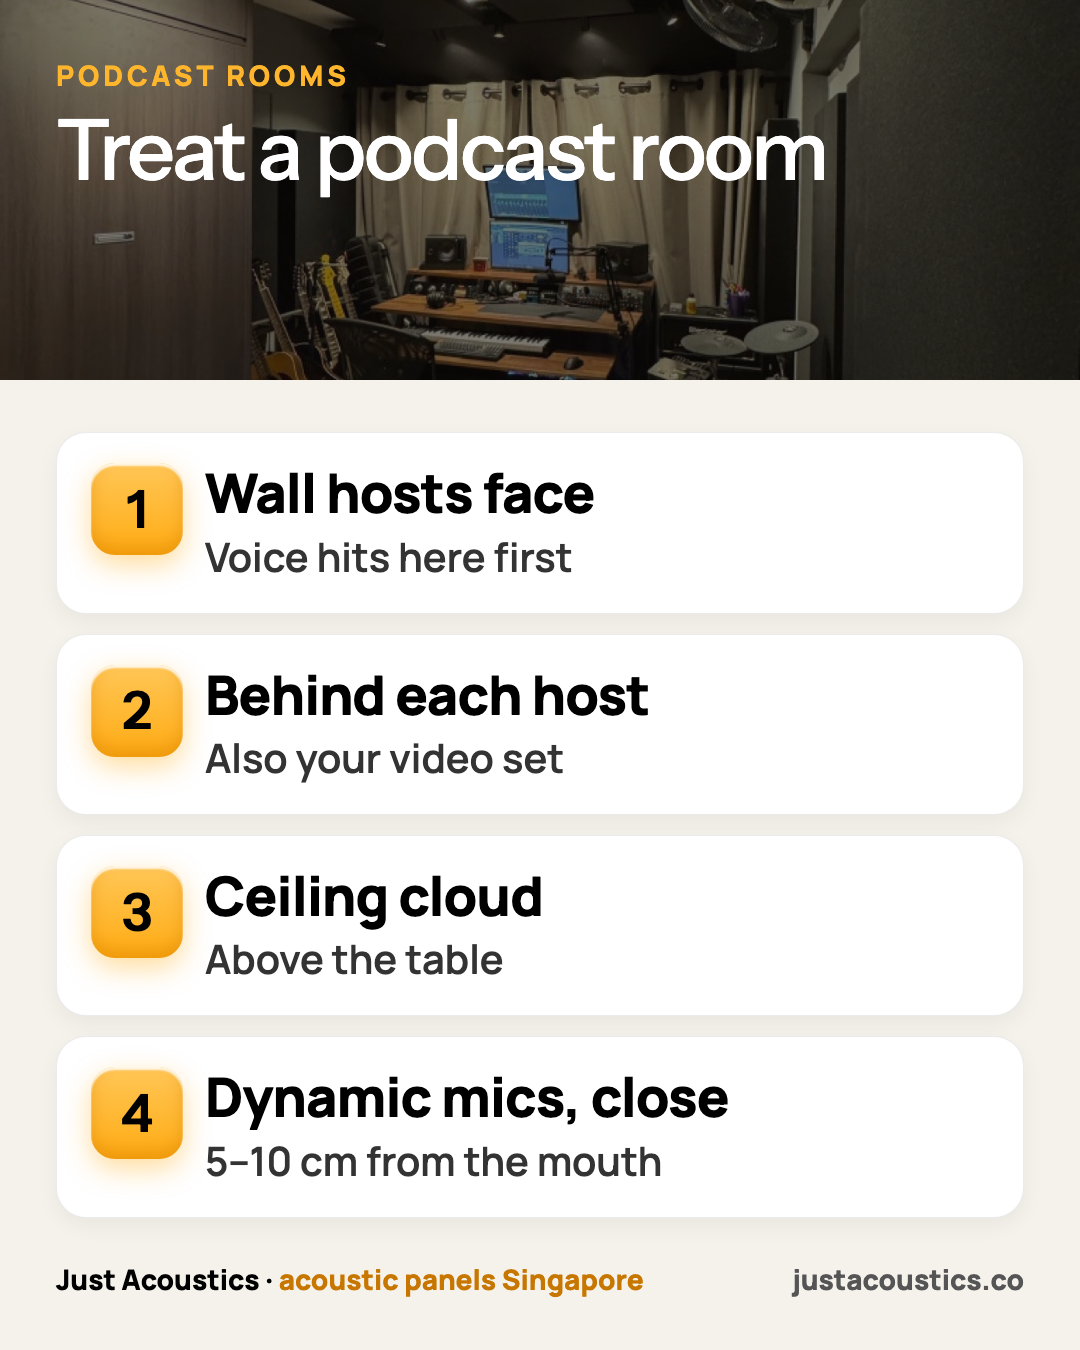
- Treat behind, beside and in front of each host, plus the ceiling.
- Small rooms need high coverage.
- Mic choice and distance matter as much as panels.
Where do panels go?
- The wall each host faces (voice hits it first).
- Behind each host (also the camera background for video podcasts).
- Side walls at seated head height.
- Ceiling cloud above the table.
How many panels?
A 10–15 m² podcast room usually needs 10–16 panels. As example maths, that is S$1,850–S$2,960 at S$185 installed, and we confirm the exact count from photos. Bass traps help if you also play music. See how many panels.
Not sure what your room needs? Send us a photo on WhatsApp or request a free quote. We'll tell you how many panels, where they go and the price. See our acoustic panels for homes and recent projects.
Microphone tips
- Dynamic mics (less sensitive to room sound) 5–10 cm from the mouth.
- Hosts face away from bare glass.
- Avoid a hard table directly under the mics (a cloth helps).
Outside noise?
Not on their own. Traffic, aircon or corridor noise needs seals, a solid door and quieter equipment, not panels. Panels only stop the room's own echo getting into the mic. See treatment vs soundproofing.
Video podcasts
Panels behind hosts double as the set. Pick colours that suit your brand from 39 fabric colours. Printed panels can also carry your logo. See choosing colours.
What we see on real jobs
Podcast rooms are usually small offices or spare rooms. The fastest improvement comes from treating the wall the hosts face and the ceiling above the table, then the background wall, which also makes the video look finished.
Get a straight answer for your room
WhatsApp a photo of the room (+65 8930 1905) and tell us what you use it for: calls, TV, music or mixing. We'll suggest a layout, a colour and a price, including no-drill options where your walls allow.
WhatsApp us a photo · Request a free quote · See prices
Related reading